Installation
As the Dashboard Starter Kit is built for Laravel, you will first have to create a fresh Laravel project.
Please refer to the Laravel documentation here on how to go about this.
Here is the TLDR version of a Laravel project creation
After you have installed PHP and Composer, you may create a new Laravel project via the Composer create-project command:
composer create-project laravel/laravel my-dashboard
Once you have created the project, you may use composer to install the latest version of the starter kit into your new Laravel project:
composer require uneca/dashboard-starter-kit
After installing the package, you may execute the chimera:install artisan command. This command will install a suite of tools and features that enable you to build a modern census/survey dashboard.
php artisan chimera:install
** New Applications Only **
Dashboard Starter Kit should only be installed into new Laravel applications. Attempting to install it into an existing (modified or not freshly installed) Laravel application will result in unexpected behavior and issues.
Now that you have scaffolded your dashboard application, the next step is to edit your application's .env configuration file and put in the correct settings for your database and other relevant settings.
To proceed, you need to first create a PostgreSQL database and add the details to the .env file (see below). Again please refer to the Laravel documentation on how to configure a database connection.
DB_CONNECTION=pgsql
DB_HOST=your database host name or ip address
DB_PORT=your database port (5432 is the default port for postgres)
DB_DATABASE=your database name
DB_USERNAME=your database username
DB_PASSWORD=your database password
For a complete list of all environment variables you can configure, please refer to the Configuration section.
Once you have edited your .env file, you are now ready to run the database migrations:
php artisan migrate
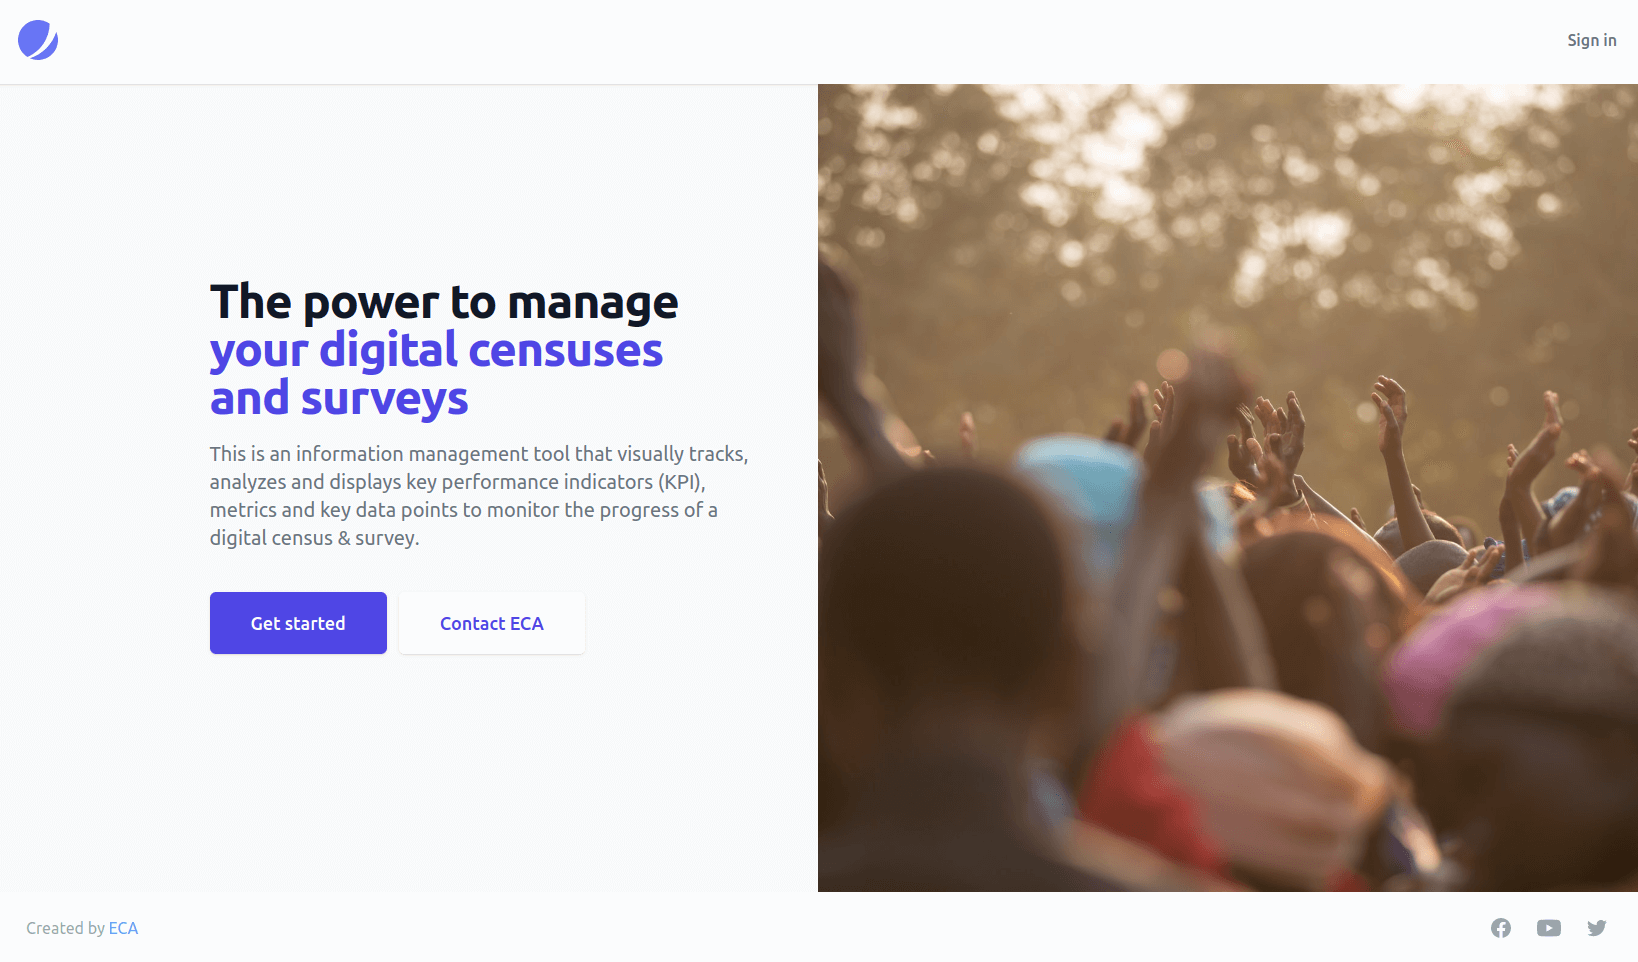
At this point, you are ready to start your server, whatever that may be (artisan serve command, nginx, WAMP, IIS, etc.) and navigate to the web address where you will see the landing page
The quickest way would be to run the built-in artisan web server like so,
php artisan serve
Assuming everything goes well, you should be able to navigate to http://localhost:8000 and see the landing page
Finally, you can run the adminify command to create a Dashboard Manager account with which you can access your new dashboard.
php artisan adminify