Roles
Roles help to manage permissions by delineating which users can access different areas of the dashboard. During the installation of the dashboard, a default role that has all permissions is created. More roles can be created as needed and assigned specific permissions to view an indicator. This allows you to customize access to a group of users. There are a few different ways to define roles for the dashboard. One common method is to use job titles, such as Supervisor, and Manager. Another method is to use departments, such as Mapping, IT or Methodology. Once you have defined the roles, you can then assign permission to view indicators having these users in mind.
Creating roles is only available to Dashboard Managers. You should already be logged in using a 'Manager/Administrator' type account
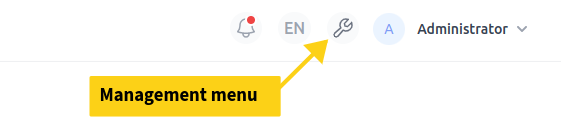
You need to first head to the 'Management' menu (see screenshot below) in your dashboard:
Creating a role
The steps to create a role are as follows: navigate to the role management page, click on the management menu and select the roles option then:
- Go to the 'Access control' section of the management menu
- Click on the 'Roles' option

- The role management page will be displayed. Enter the name of the role you want to create in the 'Name' field and click on the 'Create' button.

Assigning view permission to roles
Once you have created a role, you can assign permissions to it. There two types of permissions:
- Page level permissions
- Indicator level permissions
The steps to do so are as follows:
- Go to the 'Access control' section of the management menu
- Click on the 'Roles' tab
- Click on the 'edit' for the role you want to assign permissions to
Page level permissions
Page level permissions allow you to control who can access what pages in the dashboard. The steps to assign page level permissions are as follows:
- Go to the Roles edit
- Find the page you want to assign permissions to and click on the show page button
- Click on the 'Save' button to save the permissions
Indicator level permissions
Indicator level permissions allow you to control who can access what indicators in the dashboard. Indicators are grouped by pages. The steps to assign indicator level permissions are as follows:
- Go to the Roles edit
- Find the indicator you want to assign permissions to and click on the icon to the right of the indicator name to assign permissions
- Click on the 'Save' button to save the permissions
Deleting roles
Deleting roles can be accomplished via the Role management page. A role can be deleted only if it has no users assigned to it. The steps to do so are as follows:
A role can be deleted only if it has no users assigned to it.
The default role created during installation cannot be deleted.
- Go to the 'Access control' menu
- Click on the 'Roles' option
- The role management page will be displayed.
- Find the role you want to delete and click on 'delete'